
Quickstart Tutorial – Setup a mailing list
This tutorial will help you to set-up a mailing list.
This includes
- creating a mailing list that can retrieve/send messages,
- adding recipient to the mailing list and
- sending a test message to the mailing list.
Let’s do this!
Installation
If you don’t have installed WP Mailster yet, have a look at the installation tutorial for the system requirements and the quickest way to install WP Mailster.
Open WP Mailster and get started
- Open WP Mailster (Start Center)
- Choose ‘Add mailing list‘ from the tasks list
General settings
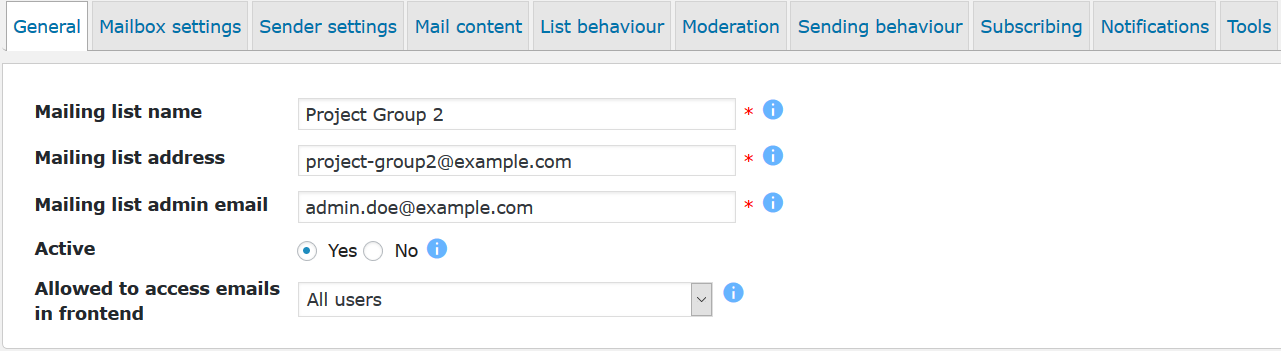 In this section you will provide some basic data of your new mailing list.
- Mailing list name: Choose a name for your mailing list
- Mailing list email: Enter the email the mailing list members will send their mails to
- Mailing admin email: The administrator will get notifies when something goes wrong, must not be the list’s email and must be a valid email address
- Active: Make sure the list is active (this enables mail retrieving and forwarding)
- Allow to access emails in frontend: You can publish the archive of emails on your site or hide them
After that click on the next tab (Mailbox settings).
Mailbox settings
WP Mailster uses a normal email mailbox that can be accessed with IMAP or POP3.
You can either choose one of the readily available settings or, what we recommend in most cases, use your own email provider (e.g. of the domain hosting you are using).
Adding a new Mailbox Server
Choose “New Server” in the Server dropdown menu.
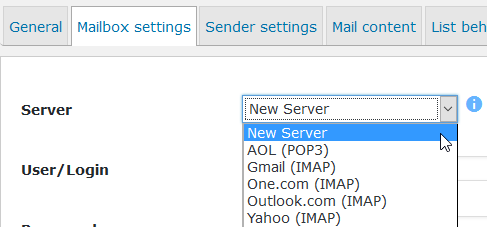
You will see input fields to enter the server login information.
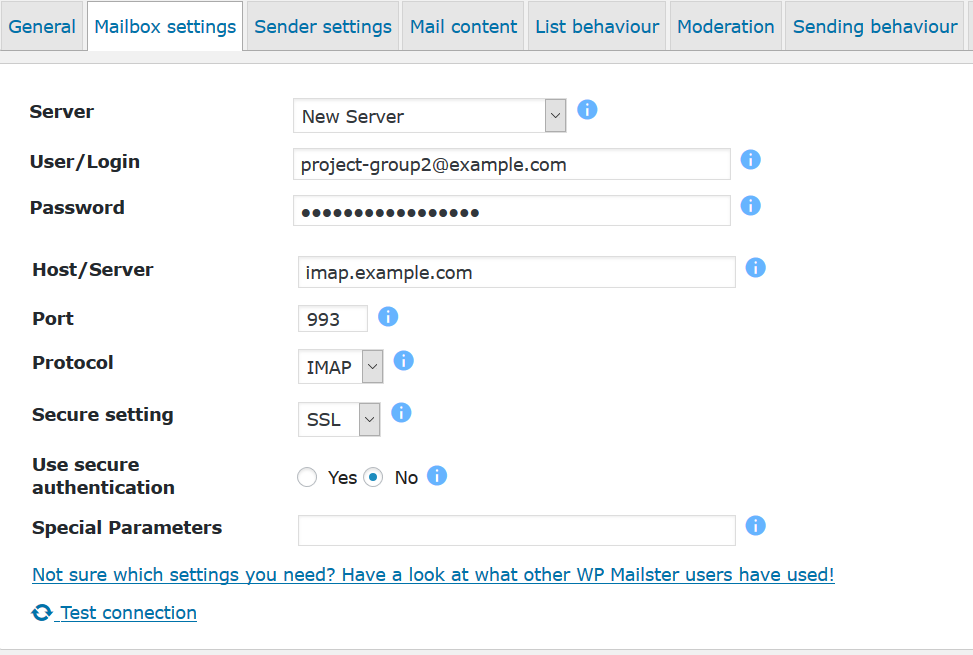
The settings in this section are crucial for a working mailing list. Ask your mail provider (of the mailing list email you provided in the last section) for the needed details or have a look at the settings of popular providers.
- User/Login: The login user, normally the email address or the part of the email address before the @ letter
- Password: The user’s password
- Host/Server: The address of the mail-server
- Port: The port number of the mail server
- Protocol: The protocol to use at this server/port
- Secure setting: You can enable a secured connection when the server supports this feature
- Use secure authentication: Some servers require a secure authentication
- Special parameters: Not always needed, read corresponding tip in WP Mailster to learn more
Click on ‘Test connection‘ to make sure your settings are correct.
Please use a dedicated mailbox for WP Mailster. Any emails in it will be treated as mailing list emails and therefore send out to the recipients. Thus, do not use your personal email accounts, create/use a different email account.
After that click on the next tab (Sender settings).
Sender settings
You have two choices here: the easy way is to use your normal mailbox sender (the one WordPress uses).
The other way (which is recommended) is only a little more difficult: using an SMTP server.
You can either choose one of the readily available settings or, what we recommend in most cases, use your own email provider (e.g. of the domain hosting you are using).
Adding a new SMTP Server
First, choose “New Server” in the Server dropdown menu.

- User/Login: The login user, normally the email address or the part of the email address before the @ letter
- Password: The user’s password
- Host/Server: The address of the mail server
- Port: The port number of the mail server
- Secure setting: You can enable a secured connection when the server supports this feature
- Use secure authentication: Some servers support a secure authentication
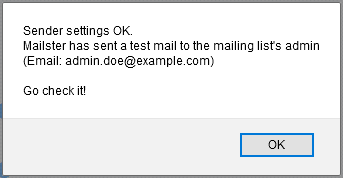
Click on ‘Test connection‘ to make sure your settings are correct.
Further settings
At this point you have the basic setup for a working mailing list.
Of course, there are further tabs with settings helping you to customize and finetune your mailing list. Those settings are covered seperately and can found (under the respective settings title) in the tutorial section.
Save the mailing list
After that click on Add mailing list to save your settings.
If you did all settings you will get the message that your new mailing list was saved and will be back at list where you can manage all your mailing lists. Now we are ready to add recipients to our mailing list.
Adding recipients
It is nice to have a mailing list. It is even nicer to actually have some people that want receive the list’s mails. Now let’s add some of those folks to our recipients…
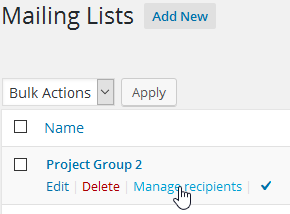
- Go to the ‘Mailing Lists’ menu
- Click on ‘Manage recipients’
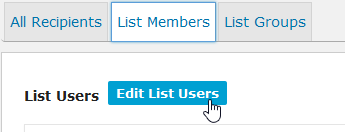
The tab ‘All recipients’ gives an overview of all recipient names and email addresses – well, not too much until now.

- Click on the ‘List members’ tab and then ‘Edit List Users’
- Choose all users you want to add on the left side
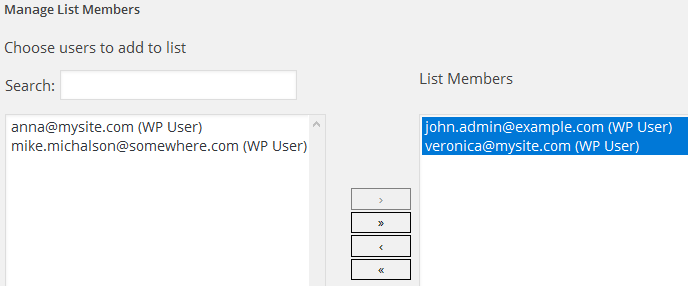
- Click on the single arrow pointing to the right
- Click on ‘Save Changes’ to add the selected users to the mailing list
You can add every WordPress user as a recipient. Don’t worry if not all recipients belong to your WordPress users – you can store them under the user section and add them later.
A feature that you might find useful if you want to manage several mailing lists are user groups that you can add to the recipients.
Example: you have a group ‘Designers’ that is enrolled in the mailing lists ‘Support’ and ‘Development’. Whenever the designer department has a new co-worker or intern their email addresses have only to be added in the group ‘Designers’ not in every mailing list.
Send a mail
All set!
Now go ahead and send a greeting email to your mailing list – all recipients should receive it 🙂
In our case we would send an email to project-group2@example.com.
You can send it any way you like – use your favorite email client (Outlook, Thunderbird, GMail, …).
What next?
Now it is time for testing the list and, if needed, to adapt the other mailing list settings.